Surface finishing affects CNC machining costs by adding supplementary labor, specialized processing time, and material expenses to the baseline manufacturing process. Choosing a post-machining finish—such as anodizing, polishing, or bead blasting—can increase the final per-part cost by anywhere from 5% to over 50%, depending on the complexity of the finish, the strictness of the surface roughness (Ra) requirements, and whether manual intervention or specialized masking is necessary. To keep CNC machining costs low, engineers should rely on standard “as-machined” finishes for non-visible components and only specify advanced post-processing when functional or aesthetic demands require it.
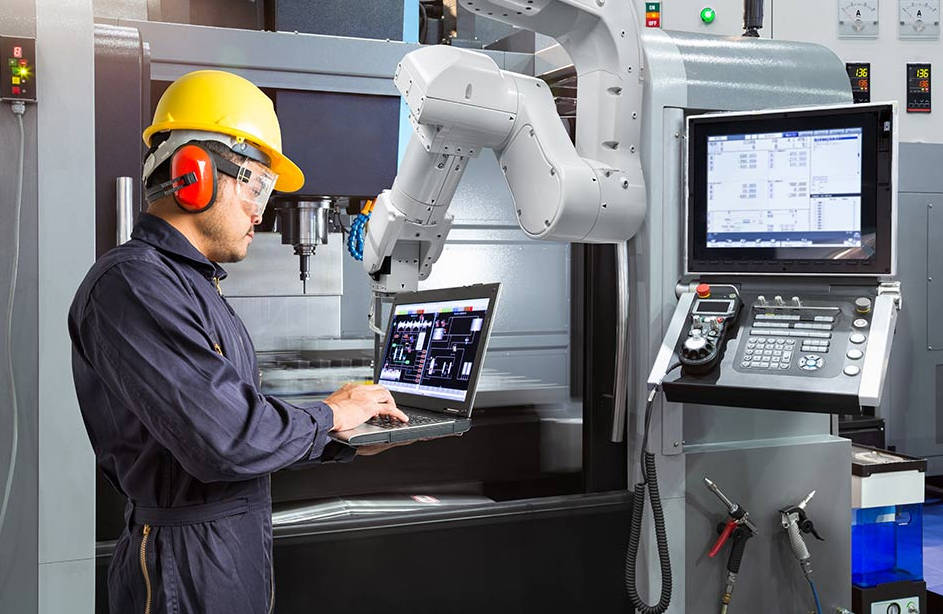
When designing parts for CNC manufacturing, many engineers meticulously optimize their CAD models to reduce machining time, only to experience sticker shock when the final quote arrives. The culprit is almost always post-processing. Understanding the intricate relationship between metal finishing pricing and overall production expenses is critical for effective Design for Manufacturing (DFM). This comprehensive guide explores why surface finish increases CNC cost, breaks down the pricing of different finishing techniques, and offers actionable strategies to optimize your post-processing expenses

Understanding the Relationship Between Surface Finish and CNC Costs
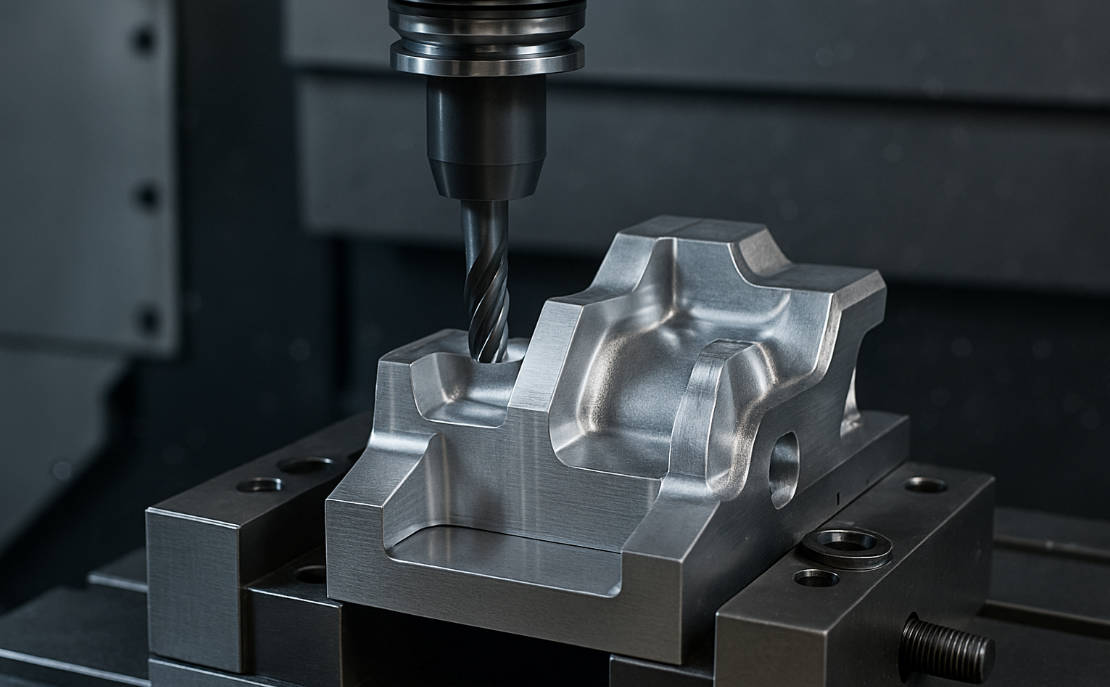
In the realm of precision manufacturing, surface finish refers to the texture, smoothness, and protective coating applied to a part’s exterior after the primary cutting phase is complete. From an economic perspective, every operation added after the part comes off the CNC mill or lathe acts as a multiplier to your baseline cost. Why does surface finish increase CNC cost? Simply put, post-processing demands a separate workflow. It involves transporting the parts to different stations (or entirely different outsourced facilities), utilizing separate chemical or mechanical equipment, and employing highly skilled labor.
Furthermore, there is a direct correlation between the required Surface Roughness Average (Ra) and the cost of production. A standard CNC machined part typically yields a surface roughness of Ra 3.2 µm (125 µin). If your design demands a smoother surface, such as Ra 0.8 µm (32 µin), the machinist must use finer cutting tools, reduce feed rates, and take multiple lighter passes. This dramatically increases machine time, which translates directly to higher machining costs, even before any secondary aesthetic or protective coatings are applied. In the eyes of manufacturing experts, over-specifying a smooth surface finish is one of the most common and easily avoidable budget drains.
Standard vs. Advanced Surface Finishes: A Cost Comparison
To accurately forecast your manufacturing budget, it is vital to understand the financial impact of various finishing options. Below is an in-depth look at the most common CNC surface finishes and how they affect the bottom line.
| Surface Finish Type | Typical Surface Roughness (Ra) | Cost Impact | Best Application |
|---|---|---|---|
| As-Machined (Standard) | 1.6 µm – 3.2 µm | None (Baseline) | Internal components, non-aesthetic parts, functional prototypes. |
| Bead Blasting / Tumbling | Matte / Uniform texture | Low (+5% to 10%) | Removing tool marks, basic aesthetic improvement. |
| Anodizing (Type II / Clear & Color) | Depends on pre-finish | Medium (+10% to 20%) | Corrosion resistance, coloring aluminum components. |
| Anodizing (Type III / Hardcoat) | Depends on pre-finish | High (+20% to 30%) | Wear resistance, harsh environments, military applications. |
| Manual Polishing | < 0.4 µm (Mirror) | Very High (+30% to 50%+) | Optical components, luxury consumer goods, medical devices. |
“As-Machined” (Standard) Finish
The cheapest CNC surface finish is the “as-machined” state. In this condition, the part is removed from the CNC machine, deburred to ensure there are no sharp edges, and cleaned. The part will display visible tool marks, which are the natural geometric patterns left behind by the end mills or drill bits. Because it requires zero secondary operations, this finish adds no additional cost to your quote. For brackets, internal motor housings, or testing jigs where cosmetics are irrelevant, adhering strictly to an as-machined finish is the ultimate cost-saving strategy.
Bead Blasting and Tumbling
If you need to remove visible tool marks but want to keep post-processing expenses low, bead blasting or vibratory tumbling are excellent choices. Bead blasting involves firing fine glass beads at the part at high pressure, resulting in a uniform, matte texture. Tumbling involves placing the parts in a vibrating vat filled with abrasive media. While these methods are relatively inexpensive, they do require dedicated machinery and labor to load, operate, and unload. Consequently, you can expect a minor bump in your per-part price. It is worth noting that bead blasting can slightly alter the dimensions of a part, so it should be used cautiously on components with tight tolerances.
Anodizing (Type II and Type III)
Anodizing is an electrochemical process predominantly used for aluminum parts to increase corrosion resistance, enhance surface hardness, and allow for dyeing. Type II (Standard) Anodizing is moderately priced. It requires chemical baths, electrical currents, and precise timing, which increases the overhead cost. Type III (Hardcoat) Anodizing produces a much thicker oxide layer for industrial wear resistance. Because Type III requires lower temperatures, higher voltages, and longer processing times, it is significantly more expensive than Type II. Additionally, anodizing facilities often charge a minimum lot fee, making it highly cost-inefficient to anodize just one or two prototypes.
Polishing and High-Gloss Finishes
When it comes to escalating CNC machining costs, manual polishing is at the top of the list. Achieving a mirror-like finish (Ra values below 0.4 µm) often cannot be fully automated. Highly skilled technicians must use progressively finer abrasive pads and polishing compounds to meticulously buff the metal surface. This is an incredibly labor-intensive and time-consuming process. Any part geometry featuring deep pockets, internal corners, or complex undercuts will cause polishing times—and therefore costs—to skyrocket. Specify manual polishing only for premium aesthetic components or specific optical/fluidic applications.
5 Key Factors That Drive Up Surface Finishing Expenses
Understanding the exact finishing process is only half the equation. The structural and logistical requirements of your specific part also dictate how post-processing impacts your budget. Here are the five most significant factors.
1. Tight Tolerances and Masking Requirements
Adding a coating to a machined part alters its dimensions. For example, powder coating can add up to 0.1 mm of thickness, and Type III anodizing can add 0.05 mm. If your part features tight-tolerance holes or mating surfaces, the finisher must apply custom masking (plugs or specialized tape) to protect those areas from the coating process. Masking is an entirely manual process. An operator must hand-apply masks to every single hole or surface on every single part before finishing, and manually remove them afterward. This extensive manual labor drastically inflates the final price.
2. Material Compatibility
Not all materials accept finishes equally, and the underlying material dictates the cost of the chemical preparation. Aluminum is notoriously easy to anodize, making the process relatively standardized and affordable. However, applying a passivation layer or electropolishing to medical-grade Stainless Steel or Titanium requires highly aggressive, specialized chemicals and stringent environmental controls. The inherent difficulty and danger of working with these chemical processes directly increase the price charged by the finishing facility.
3. Part Geometry and Complexity
The physical shape of your part heavily dictates the time required to finish it. Processes like powder coating and spray painting suffer from the Faraday cage effect, where electrically charged particles fail to penetrate deep recesses or tight internal corners. To overcome this, operators must slow down and manually touch up complex areas. Similarly, complex geometries with thin walls may warp during high-heat finishing processes (like powder coat curing) or become damaged during abrasive tumbling, requiring specialized, expensive fixturing to hold them safely during post-processing.
4. Labor and Processing Time
In modern manufacturing, time is quite literally money. Processes that can be batched and automated—like tumbling or chemical washing—distribute the labor cost across hundreds of parts. Conversely, processes that require localized, part-by-part attention—such as hand deburring, custom sanding, or localized masking—absorb massive amounts of labor time. If a specific surface finish demands one hour of manual polishing per part, you are directly paying the hourly wage of a skilled technician on top of the machining costs.
5. Batch Size and Setup Fees
Economies of scale play a massive role in surface finishing. Most third-party finishing houses (anodizers, platers, painters) charge a “minimum lot charge” or setup fee. Whether you are anodizing one single prototype or 100 parts, the effort to prep the chemical bath and rack the parts is nearly identical. Therefore, if the minimum lot charge is $150, applying a finish to a single prototype adds $150 to that part’s cost. If you finish 150 parts, the cost is distributed, adding only $1 per part. Low-volume production runs suffer the highest cost penalties for advanced surface finishing.
How to Optimize CNC Machining Surface Finish Costs
To prevent post-processing from destroying your manufacturing budget, you must adopt a proactive approach during the CAD design and quoting phases. Here are proven strategies to optimize metal finishing pricing:
- Rethink the Ra Values: Do not default to a highly smooth surface finish (like Ra 0.8 µm) across the entire part. Allow standard as-machined tolerances (Ra 3.2 µm) wherever possible, and isolate tight surface finish requirements strictly to critical mating surfaces or O-ring grooves.
- Design for Easy Masking: If masking is unavoidable, design the part so that masking is simple. Group tight-tolerance holes together, or place them on a single, easily accessible plane. Avoid requiring masking in deep, hard-to-reach pockets.
- Leverage Batch Production: Never order single prototypes with expensive chemical finishes unless absolutely necessary for functional testing. Wait until you are ready for low-volume production (50+ units) to order anodizing or powder coating to dilute the setup fees.
- Separate Functional and Aesthetic Parts: If designing a multi-part assembly, split the parts by their visibility. Apply cheap, standard finishes to the internal chassis, and reserve the premium bead-blasted and anodized finishes solely for the exterior cosmetic panels.
Conclusion
The correlation between part appearance costs and final manufacturing bills is undeniable. While beautiful, highly polished, and custom-anodized parts look exceptional in marketing materials, they carry a heavy financial burden due to the manual labor, specialized equipment, and batch processing constraints involved. By understanding precisely how surface finishing affects CNC machining costs, engineers and product designers can make informed, data-driven decisions during the DFM process. Striking the right balance between necessary functionality, acceptable aesthetics, and manufacturing efficiency will ensure you receive high-quality CNC parts without unnecessarily inflating your production budget.