In the world of custom manufacturing, CNC machining stands out for its unparalleled precision, versatility, and ability to work with robust engineering-grade materials. However, for product designers and engineers, the cost of CNC machined parts can sometimes come as a shock.
Many professionals do not realize that the bulk of a part’s manufacturing cost is dictated not by the machinist, but by the designer. Approximately 70% of manufacturing costs are determined during the initial design phase.
This guide is written for engineers, designers, and procurement managers looking for a CNC machining service. We will explore practical Design for Manufacturing (DFM) strategies that will help you optimize your geometries, select the right materials, and ultimately reduce CNC machining costs without compromising on part quality.
Why is CNC Machining Expensive? Understanding the Cost Drivers
Before diving into the tips, it is crucial to understand where the money goes. When you receive a quote from a machine shop, the price is driven by three main factors:
- Machining Time: The longer the machine runs, the higher the cost.
- Labor & Setup: Programming CAM, fixturing, and manual flipping of parts.
- Material Costs: The raw block (billet) cost and the waste produced.
To reduce CNC costs, you must minimize machine run time, reduce manual setups, and optimize material usage. The following 10 tips are actionable ways to achieve this.
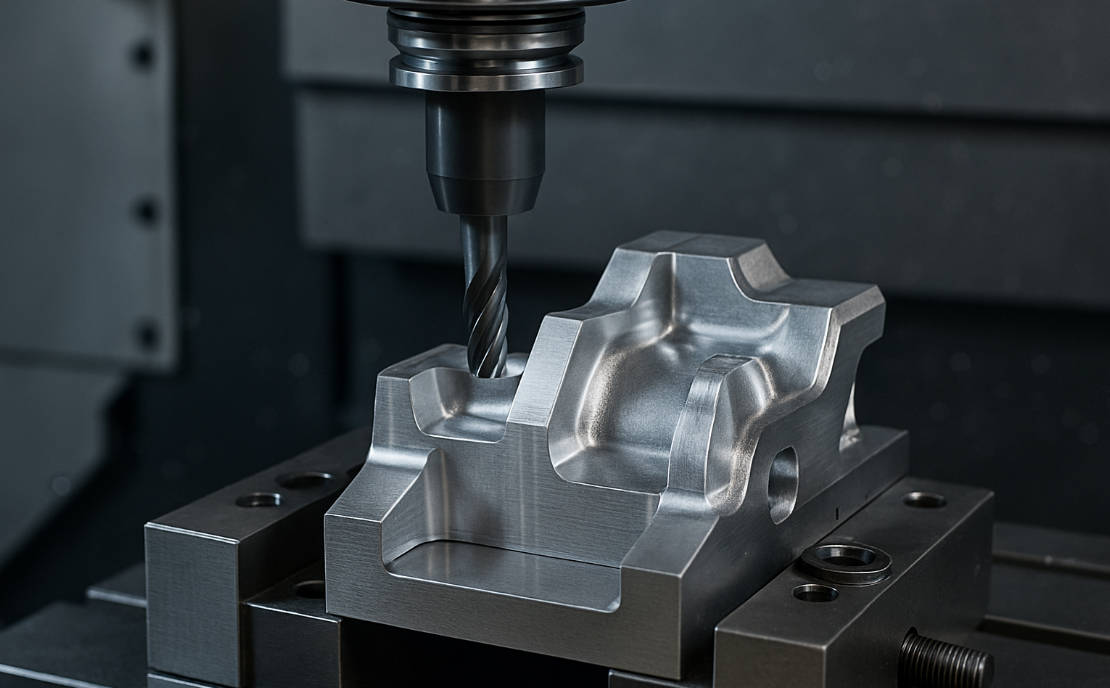
Part I: Geometry & Design Optimization
The physical shape of your part is the biggest factor in machining efficiency. Complex geometries often require specialized tools and slower cutting speeds.
Tip 1: Add Internal Corner Radii (Avoid Sharp Internal Corners)
One of the most common mistakes in CNC design is requesting perfectly sharp internal 90-degree corners.
Why this drives up cost:
CNC milling tools are cylindrical and rotate to cut material. They simply cannot create a perfect square corner. If your design requires a sharp internal corner, the machinist must use Electrical Discharge Machining (EDM), a separate and slow process that can significantly increase lead times and costs.
The Solution:
Add a radius (fillet) to all internal vertical edges. To optimize CNC efficiency, the radius of an internal corner should be at least 1/3 of the cavity depth. This allows the cutter to move continuously without stopping and turning, reducing vibration and tool wear.
- Standard Practice: If the wall height is 12mm, use a 4mm radius (or larger).
- Pro Tip: Use a radius slightly larger than a standard tool size. For example, if you need to use a 6mm end mill, design the radius at 3.5mm rather than 3.0mm. This prevents the tool from engaging 100% of its surface at the corner, reducing stress.
Tip 2: Limit Cavity Depth
Deep cavities are a machinist’s nightmare. They require long tooling, which is inherently unstable.
Why this drives up cost:
As a cutting tool gets longer, it becomes less rigid. To prevent the tool from deflecting or breaking, the machinist must slow down the feed rate drastically (sometimes by 500% or more). Deep cavities also lead to poor surface finishes and chatter marks.
The Solution:
Limit the depth of cavities to 4 times the tool diameter (4xD) whenever possible.
| Tool Diameter | Recommended Max Depth | Risk Level |
| 3mm | 12mm | Low (Standard) |
| 6mm | 24mm | Low (Standard) |
| 10mm | 40mm | Medium |
| 10mm | >50mm | High (Expensive) |
If a deep cavity is unavoidable, consider designing the part with a variable draft angle or splitting the part into two sections that can be bolted or welded together.
Tip 3: Avoid Thin Walls
While CNC machining is precise, it involves significant physical forces. The cutter pushes against the material as it removes chips.
Why this drives up cost:
Thin walls act like a drum skin—they vibrate. This vibration (chatter) ruins the surface finish and can cause the wall to buckle or break. To machine thin walls, operators must use extremely low cutting depths and multiple pass-es, which kills efficiency.
The Solution:
Follow these minimum wall thickness guidelines for stability:
- For Metal Parts (Aluminum/Steel): Minimum wall thickness should be 0.8mm (0.030″).
- For Plastic Parts (ABS/Delrin): Minimum wall thickness should be 1.5mm (0.060″).
Part II: Precision & Specifications
Over-specification is the enemy of budget. While CNC machines can hold micron-level tolerances, demanding them everywhere is unnecessary.
Tip 4: Define Tolerances Wisely
Engineers often default to applying a tight tolerance (e.g., +/- 0.01mm) to the entire drawing “just to be safe.” This is a major cost driver.
Why this drives up cost:
Tight tolerances require slower finishing passes, frequent tool inspections, and specialized metrology (CMM inspection). Moving from a standard tolerance of +/- 0.1mm to a tight tolerance of +/- 0.01mm can double or triple the machining cost.
The Solution:
Only apply tight tolerances to critical mating surfaces (where parts fit together). For all other features, rely on the standard machining tolerance (typically ISO 2768-m or +/- 0.125mm).
Google Snippet Takeaway: To reduce CNC machining costs, only apply tight tolerances to critical features and use standard ISO 2768 tolerances for the rest of the part.
Tip 5: Use Standard Hole & Thread Sizes
Custom hole sizes require custom tools. If your design features a hole with a diameter of 4.37mm, the shop will likely need a custom drill bit or a complex interpolation milling path.
The Solution:
Always design holes based on standard drill bit sizes (metric or imperial). Furthermore, pay attention to tapped holes (threads).
- Limit Thread Depth: There is rarely a mechanical benefit to a thread depth greater than 2 times the diameter (2xD). A thread depth of 2x to 3x the hole diameter provides maximum holding strength; going deeper only increases the risk of tap breakage.
- Avoid Blind Holes if Possible: Through-holes are easier to tap because chips can be evacuated from the bottom.
Part III: Process & Operation Simplification
The most efficient parts are those that can be machined in a single setup.
Tip 6: Minimize Machine Setups
A “setup” refers to the orientation of the part in the CNC machine. If a part needs to be machined on 4 different sides, the operator must pause the machine, unclamp the part, rotate it, re-clamp it, and re-zero the coordinates three times.
Why this drives up cost:
Setup time is purely labor-intensive and adds no value to the final material. It also introduces the possibility of cumulative tolerance errors (stack-up error).
The Solution:
Design parts that can be machined from just one or two directions. If your part is complex (e.g., an aerospace housing), consider utilizing a 5-axis CNC machining service. While the hourly rate for a 5-axis machine is higher, it can machine 5 sides of a part in a single setup, often resulting in a lower total cost for complex parts.
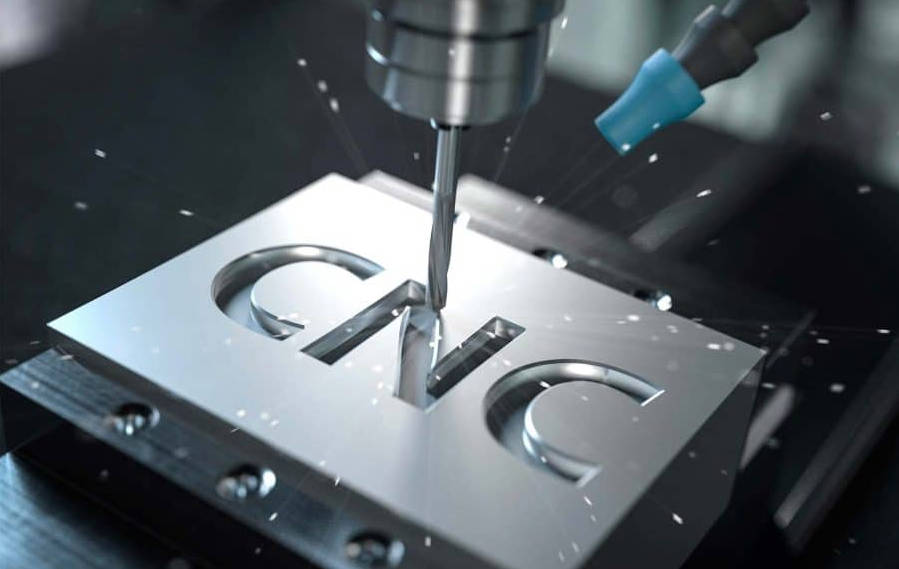
Tip 7: Simplify Text & Lettering
Adding part numbers, logos, or labels is common, but the method you choose matters.
Why this drives up cost:
Embossed text (raised text) is significantly more expensive than engraved text. To create raised text, the machine must mill away all the material surrounding the letters, which takes a tremendous amount of time.
The Solution:
- Choose Engraved Text (cut into the part).
- Use a Sans-Serif font (like Arial or Verdana).
- Ensure the stroke width is at least 0.5mm so standard engraving tools can be used.
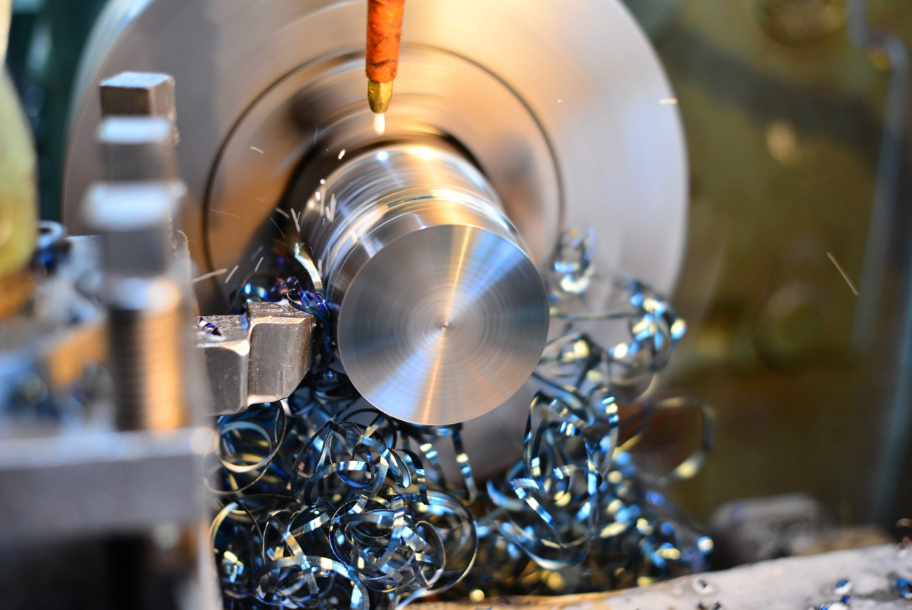
Part IV: Material & Volume Strategy
Your choice of material and purchasing strategy has a massive impact on the final invoice.
Tip 8: Select Materials with Good Machinability
Not all metals are created equal. The “Machinability Rating” indicates how easily a material can be cut.
Why this drives up cost:
Harder materials (like Stainless Steel 304 or Titanium) wear out tools faster and require slower cutting speeds compared to Aluminum or Brass.
The Solution:
Don’t choose a material that exceeds your performance requirements. If Aluminum 6061 is strong enough, do not specify 7075.
Material Cost vs. Machinability Comparison:
| Material | Machinability Rating | Material Cost | Best For |
| Aluminum 6061 | Excellent | Low | Prototyping, General Parts |
| Brass C360 | Excellent | Medium | Fittings, Contacts |
| Plastic (Delrin/POM) | Very Good | Low | Low-friction parts |
| Steel 1018 | Good | Low | Brackets, Structural |
| Stainless Steel 304 | Poor (Hard) | Medium | Corrosion Resistance |
| Titanium Gr5 | Very Poor (Very Hard) | High | Aerospace, Medical |
Pro Tip: Aluminum 6061-T6 is the most cost-effective metal for CNC machining due to its low raw material cost and high machinability.
Tip 9: Design for Standard Stock Sizes
Raw material typically comes in standard bars, sheets, or rods.
Why this drives up cost:
If your finished part is 42mm x 42mm, the machinist cannot use a 40mm bar; they must buy a 45mm or 50mm bar and mill away the excess.
The Solution:
Check standard billet sizes before finalizing dimensions. If you can reduce your part to 39mm, you can use the cheaper 40mm raw stock. Designing parts to be slightly smaller than standard stock sizes minimizes material waste and machining time.
Tip 10: Leverage Economies of Scale
CNC machining has high “Non-Recurring Engineering” (NRE) costs—setup, programming, and tooling preparation.
The Solution:
Quantity matters. The cost to machine one prototype is high because the NRE is applied to a single unit.
- 1 Part: $150/part (Mostly setup cost)
- 10 Parts: $45/part
- 100 Parts: $15/part
If you anticipate needing 50 parts over the next year, it is almost always cheaper to order them all at once rather than in five batches of 10.
VI. Conclusion: Smart Design Leads to Better Pricing
Reducing the cost of CNC machining services doesn’t mean you have to design low-quality parts. It means designing smarter. By adhering to DFM principles—using standard radii, limiting cavity depth, simplifying tolerances, and choosing the right materials—you optimize the manufacturing process.
Summary of Actionable Steps:
- Soften internal corners.
- Keep cavities shallow.
- Thicken your walls.
- Relax non-critical tolerances.
- Group production runs.
Ready to Optimize Your Project?
At [Your Company Name], we don’t just machine parts; we optimize them. Our experienced engineering team reviews every CAD file for DFM opportunities.Upload your CAD files today for a free quote and comprehensive design review. Let us help you manufacture high-precision parts faster and more affordably.